1. Access the Implement Menu 0:01
- Click on the 'Implement' button on the left side of the screen
- Click the 2nd 'Implement' button in the blue pop up menu
- Click the green ‘+’ icon in the top corner to create a new implement.
- Enter a name for your new implement at the top of the screen.
3. Input Working Width 0:26
- Enter the working width of the implement in inches
- e.g. for a cultivator input the actual tilling width, not the total width of the frame
- Measurement should be in inches.
- If applicable, input the desired overlap or skip area between rows.
- Measurement should be in inches.
- Leave blank if not needed.
- Input the lateral offset if the implement is offset to one side (e.g., hay mower).
- Measurement should be in inches.
- Leave blank if not needed.
6. Define Hitch to Ground Working Point 1:10
- Enter the distance from the tractor hitch to the rear of the implement
- Measurement should be in inches.
7. Set Turning Radius 1:30
- Customize the turning radius for the implement if using E-turn.
- This value is not required unless implement specific adjustment is needed outside of the tractor turning radius set in the U-turn menu.
- Press 'OK' to save the new implement.
9. Selecting an Implement 2:06
- Click the ‘Implement’ button to view your list of implements.
- Select the newly created implement by pressing the ‘check mark’ in the bottom right hand
- Once AB lines are made, the system will use the selected implement to provide proper spacing.
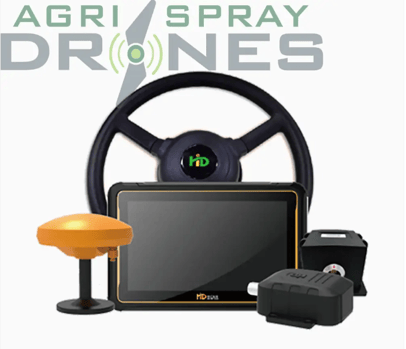
Click Here for an Auto Steering System (Full Kit)
Stay Informed: Subscribe to the Agri Spray Drones Newsletter
How to Subscribe
Subscribing is easy and takes less than a minute:
-
Visit Our Website
Go to www.agrispraydrones.com -
Scroll to the Bottom of the Homepage
Look for the “Subscribe to Our Newsletter” section. -
Enter Your Email Address
Type in the email address where you'd like to receive updates. -
Click “Subscribe”
Once you submit, you’ll be added to our mailing list and will start receiving valuable updates straight to your inbox.
Don’t Miss Out
Join thousands of ag professionals who trust Agri Spray Drones for the latest in drone spraying and precision ag.
Subscribe today — and let us help you take your operation to the next level.