We recommend practicing flying the drone manually for at least 1 hour before automated flight. Do this both empty and full in an open field.
Setup
- Follow our “Pre-operations Setup and Settings Check” document or video
Preflight Checks
- Follow our “Pre-operations Setup and Settings Check” document or video
Turning off RTK Positioning
- Power on controller and drone
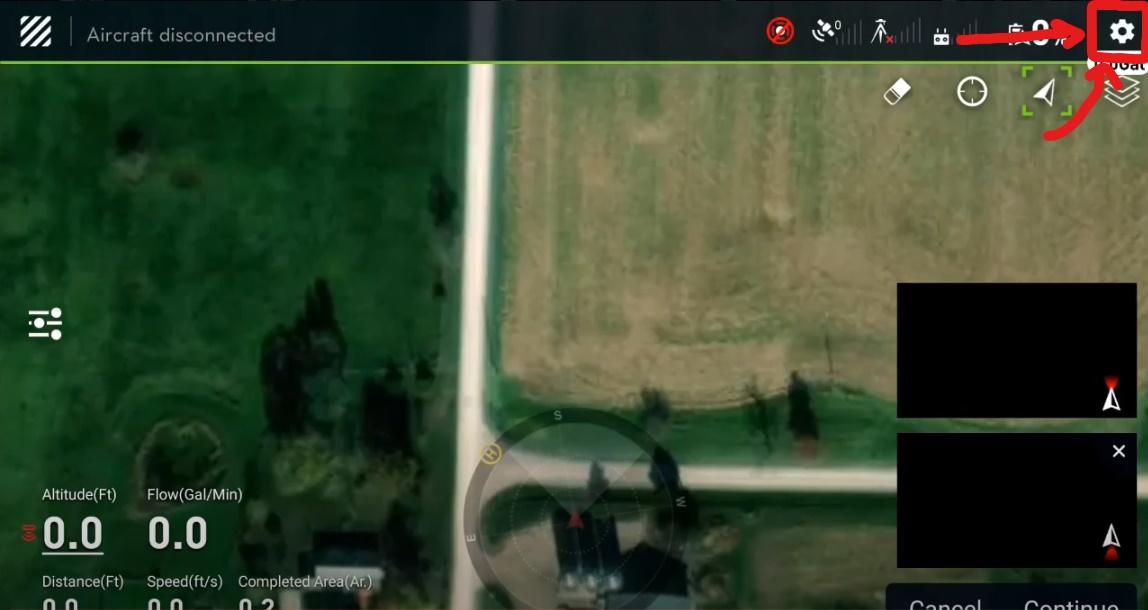
- Select “Execute Tasks”
- Select “Settings” wheel in top right corner of screen
- Select “RTK”
- Turn of “RTK Positioning”
Manual Takeoff
- Ensure drone is facing away from you
- This will help with orientation
- Arming the drone
- Move both left and right sticks down and to the middle of the controller and hold until drone arms (3 second countdown will begin, then propellers begin to spin).
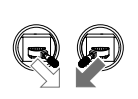
- DO NOT put the sticks in this position during flight!
-
- The drone will disarm and fall from the sky.
- The drone will disarm and fall from the sky.
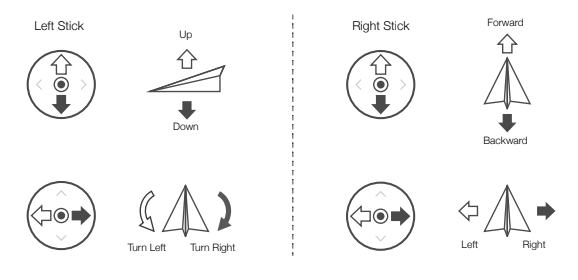
Controlling the Drone (Manual Flight)
- Takeoff
- Gently raise left stick and allow drone to pick up from the ground
- Climb up to about 10ft and allow drone to hover itself
- Drone will correct for wind and try to maintain itself over the takeoff point
- Control checks
- Move drone in all directions to ensure drone responds correctly to inputs made on controller
- Perform a small climb, descent, move left, move right, yaw (turn) right, yaw (turn) left
- Landings
- Gently lower left stick to start a descent
- Once drone touches down
- FULLY move and hold stick in down position until drone disarms and blades stop spinning
- Hold stick down for 3 seconds
- FULLY move and hold stick in down position until drone disarms and blades stop spinning
- Return To Home (RTH)
- During RTH the drone will fly back to the home point and hover automatically.
- The screen will ask you to land auto or manual.
- We recommend to not push either of these buttons.
- Instead, tap the left stick down and the drone will go into automatic landing.
- Push the left stick up and automatic landing will be canceled.
Flight Settings Overview
- Aircraft settings
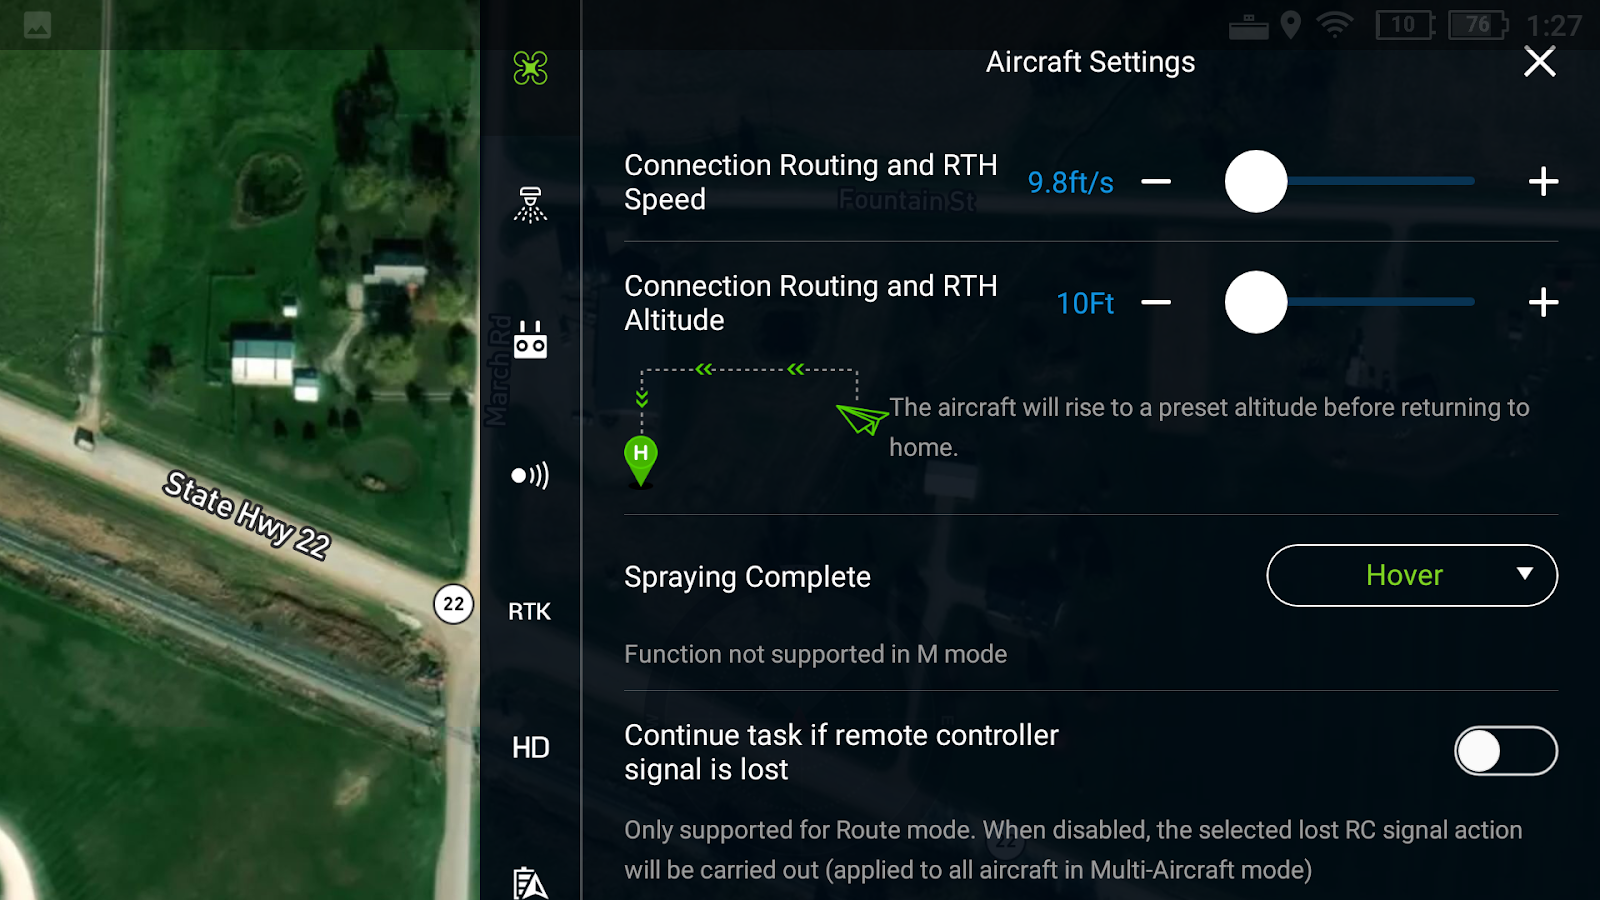
- Connection Routing and RTH Speed - Speed that the drone will fly during Return to Home and returning to operation.
- Connection Routing and RTH Altitude - Altitude (from Homepoint) that the drone will fly during Return to Home and returning to operation.
- Spraying Complete - This is what the drone does when the tank is empty.
- Hover - drone will hover in place, you must initiate RTH or manual flight
- RTH - Drone will automatically return to home point
- Continue task if signal is lost - If checked on drone will continue with mission until completed or empties payload if the signal is lost from the remote.
- Rc Signal Loss - This is what the drone will do if the signal is lost
- If the above setting is checked on then this action will be performed after the tank is empty.
- Flight Route Complete - This is what the drone will do after completing the mission.
- Hover - drone will hover in place, you must initiate RTH or manual flight
- RTH - Drone will automatically return to home point
- Home Point Location - Used to update home point while drone is flying
- Front/Rear spotlights - Set on or off as desired
- Max Altitude - Per FAA regulation you must stay below 400ft, set to 120m or less
- Max Flight Distance - Per FAA regulation you must maintain line of sight, set as desired. 1 mile = 1609meters
- Spraying System Settings
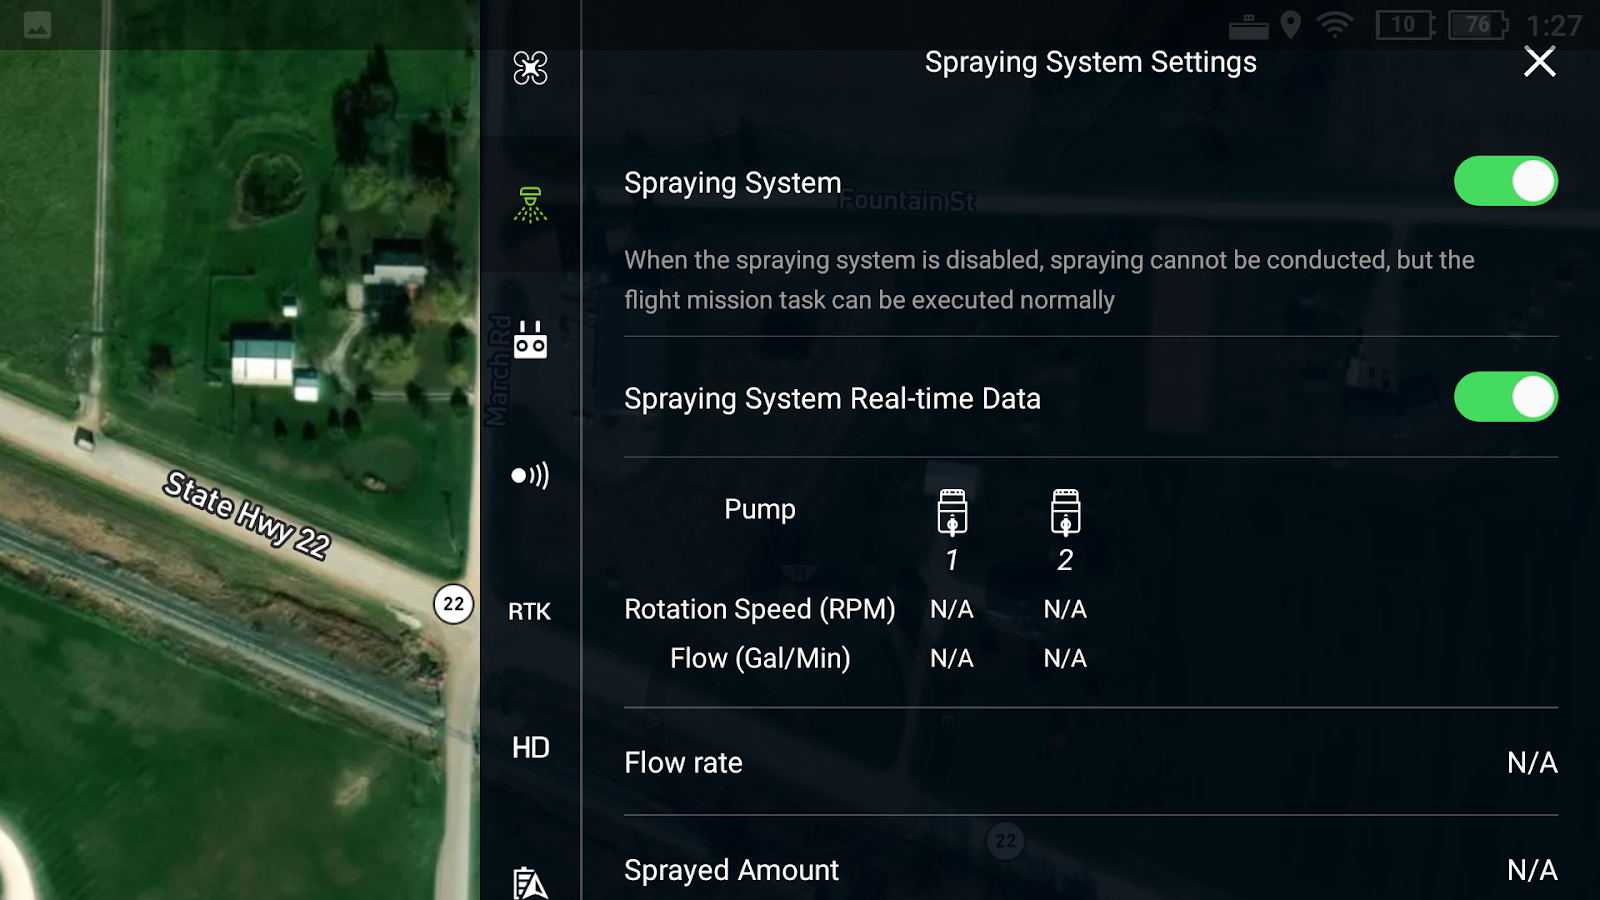
- Spraying System - Set to ON
- If turned off prior to removing the spray tank and installing the spreader tank you will not be able to conduct spreading operations.
- Setting will also be unavailable with spreader installed
- If turned off prior to removing the spray tank and installing the spreader tank you will not be able to conduct spreading operations.
- Real Time data - real time information on spray system
- Clear Trapped Air - Additional option to clear trapped air from system
- Can also hold down the spray button for 2 sec to initiate
- Set Spray tank Level -
- Empty Tank Warning Threshold - The liquid level at which the drone will perform the “spraying complete” action.
- Flow Meter Error Alert -
- Calibrate Pump Flow - used to calibrate pump flow, follow onscreen prompts
- Calibrate Flow Meter - used to calibrate flow meter, follow onscreen prompts
- Nozzle Model - select you nozzle type from drop down
- To perform pump flow recalibration, do in this order:
- Select correct nozzles and install on the drone.
- Perform Flow Meter calibration
- Perform Pump Flow calibration
- To perform pump flow recalibration, do in this order:
- Restore Flow Meter To factory settings - restores settings to factory
- RC Settings

- Linking Mode
- Single - used to link with one drone
- Multi - used when linking to more than one drone
- Linking - press to link with drone, then hold down drone battery button for 5 seconds
- Linked Aircraft - displays linked drone(s)
- Remote Controller Calibration - Used to calibrate the controller
- Stick Mode - used to change inputs the sticks make, USE MODE 2
- Custom Button - used to control what button functions are
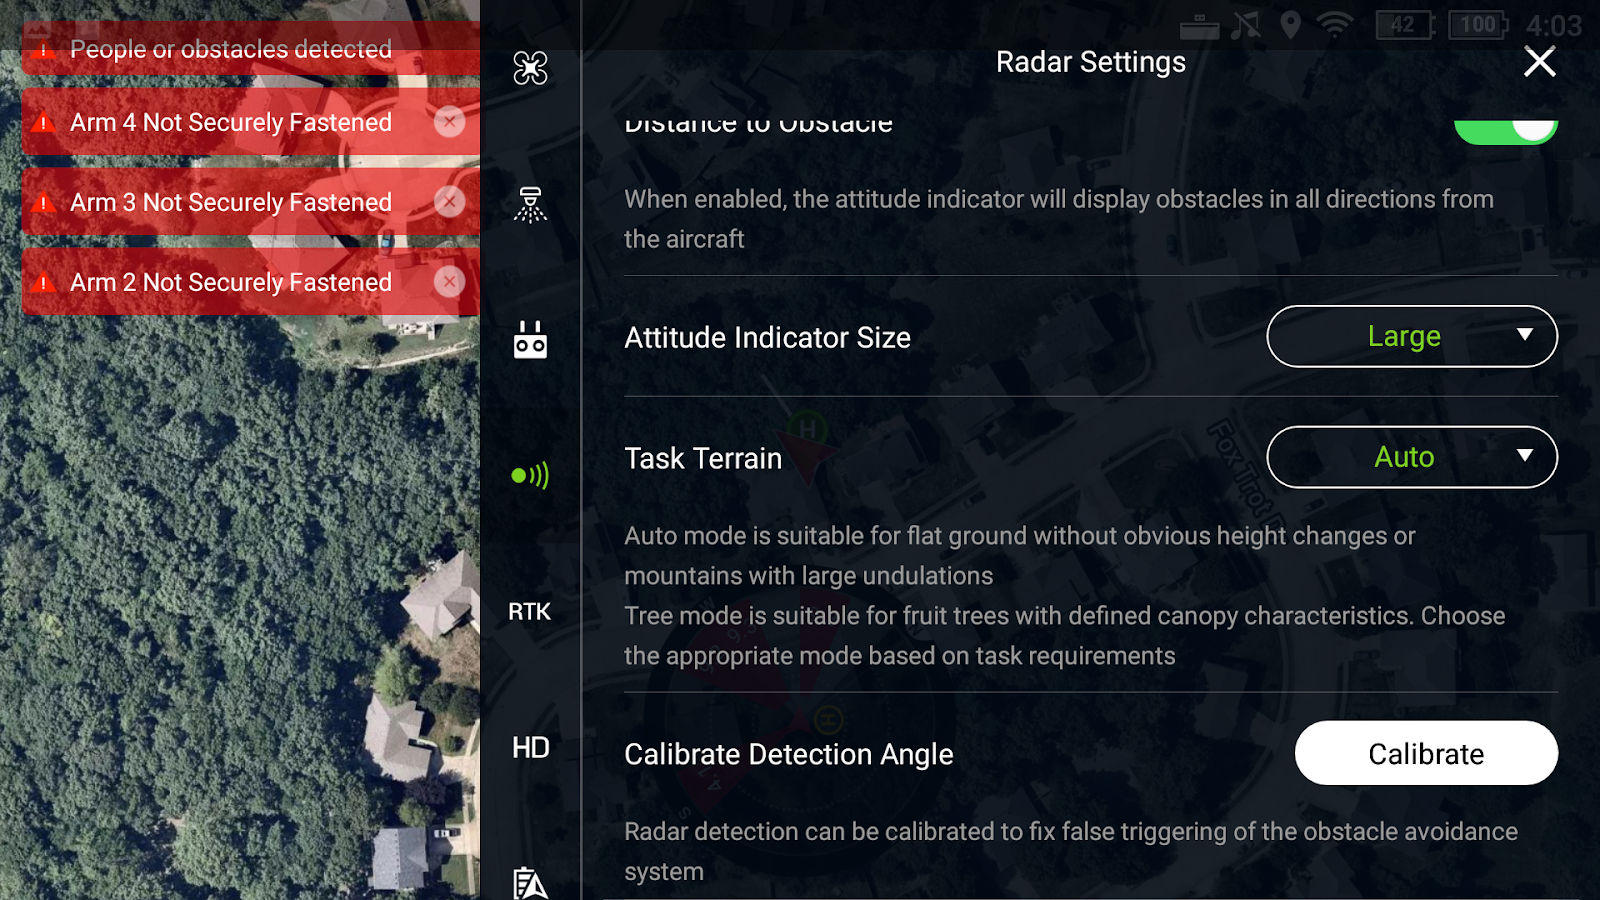
- Radar Settings
- Enable Radar Module - Set on
- Horizontal Obstacle Avoidance - Set on
- Upward Obstacle Avoidance - Set on
- Auto Obstacle Avoidance - Set on
- Side Obstacle Detection Distance - Set max
- Warning Distance - Set max
- See-through Attitude Indicator - set on
- Distance To Obstacle - set on
- Attitude Indicator Size - set as desired,
- Changes the size of the radar display
- Task Terrain - set auto
- Radar terrain following mode, use tree for large/more frequent terrain changes
- Calibrate Detection Angle - used to calibrate radar
- Ensure you are in zero wind to get most accurate calibration
- Contact us prior to doing this calibration
- RTK - follow “D-RTK Mobile Base Station” document for these settings

- Aircraft RTK Positioning
- TURN OFF
- RTK Signal Source
- None
- RTK Orientation
- Leave on
- Your Screen should look just like the image above if you are not flying utilizing an RTK source.
- Failure to turn off RTK Positioning will prevent the drone from being able to take off.
- Image Transmission Settings

- Channel Mode - Leave on Auto
- Frequency Sweep - set to 5.8G
- Intelligent Battery
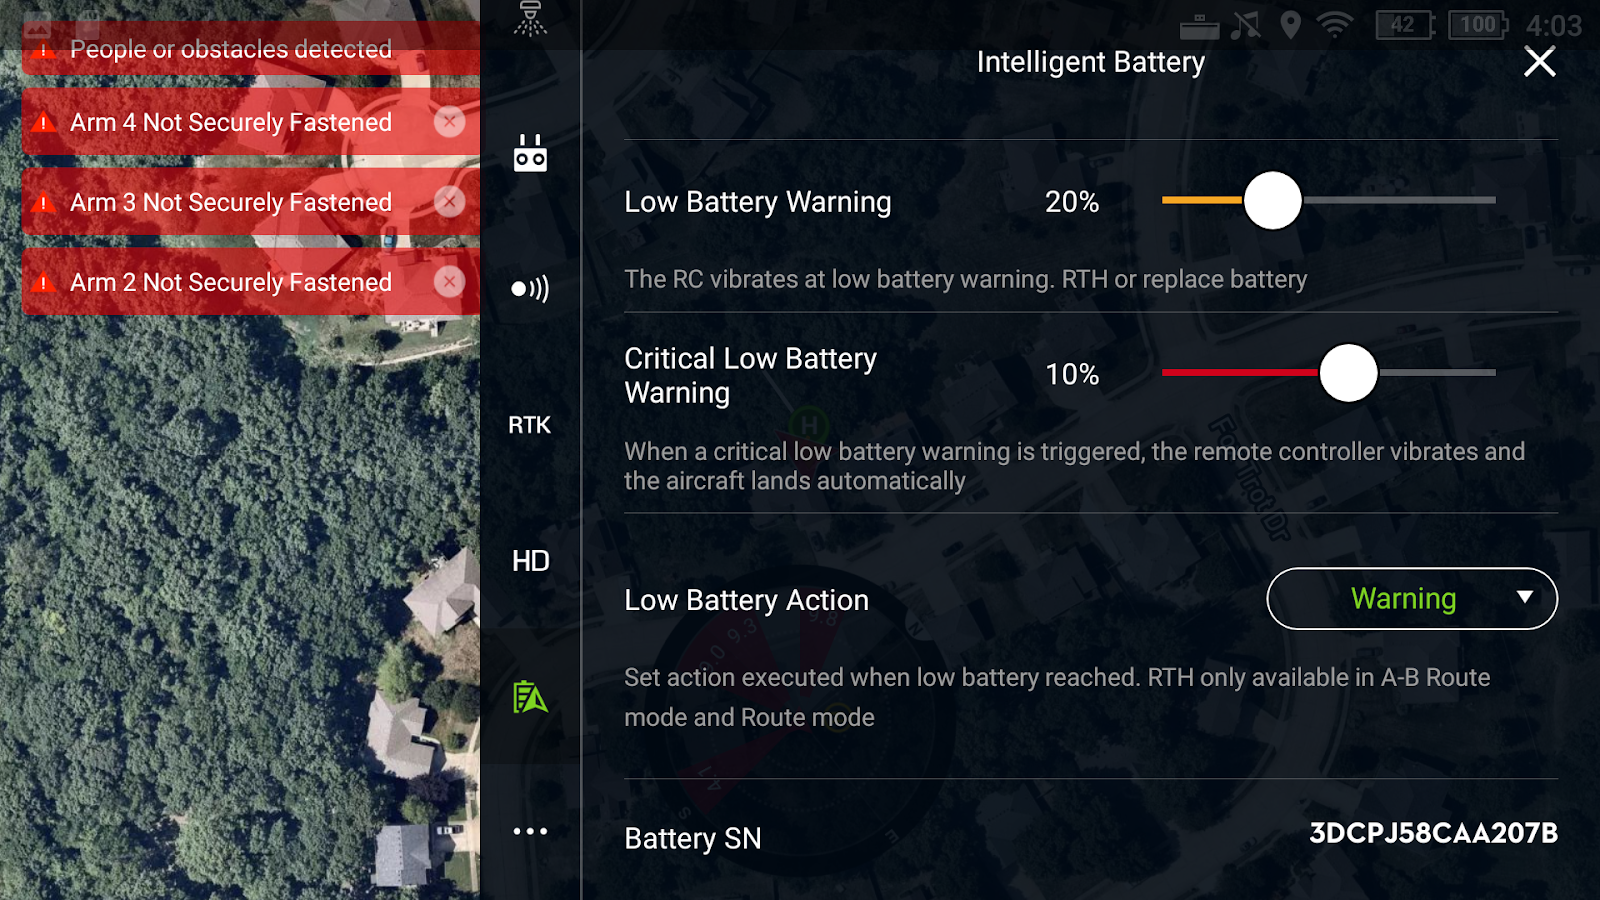
- Low Battery Warning - Drone battery level at which the remote will begin to alert you and/or Return to Home. Recommended to set to 20-30%
- Critical Low Battery Warning - Drone battery level at which the drone will land. Recommended to set to 5-10%
- Low Battery Action
- Warning - just gives audible warning
- Return-to-home - will RTH at Low Battery Warning level